|
If this is the first time you're setup an account for Apple Mail, the Welcome to Mail window will appear. If it does, proceed to Steps 4-6
|
1.
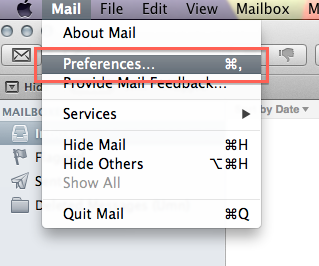
Under the Mail menu, select Preferences
|
2.
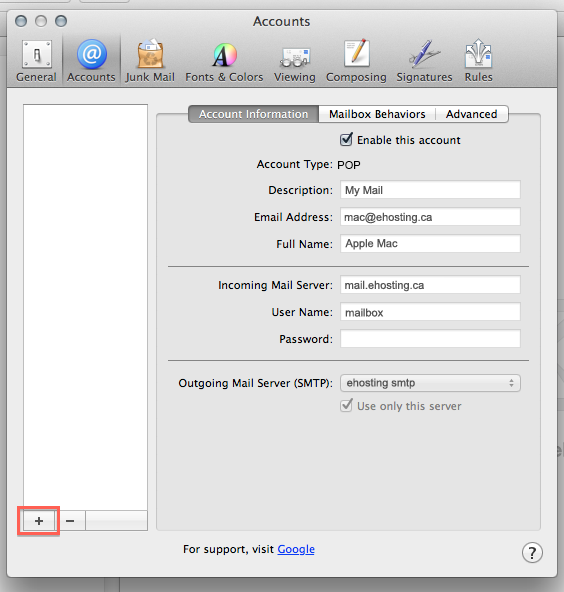
Click the Accounts icon
|
3.
Click the + symbol in the bottom left corner of the window
|
4.
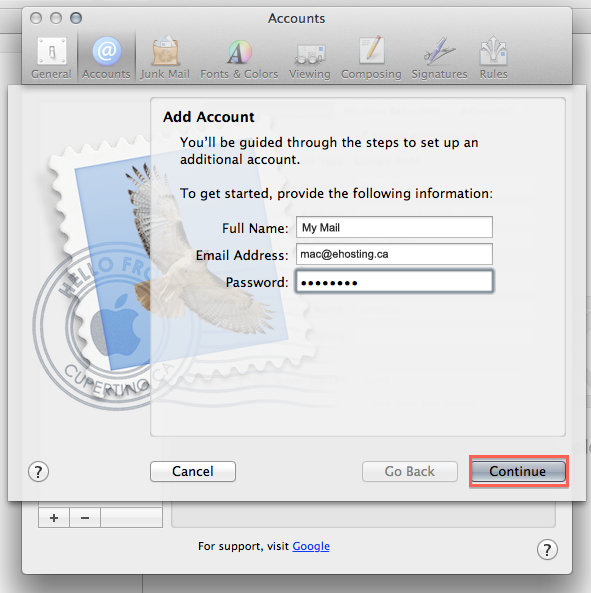
Enter your full name as you would like it to appear on emails sent from this account
|
5.
Enter your email address and password.
|
6.
Click Continue
|
7.
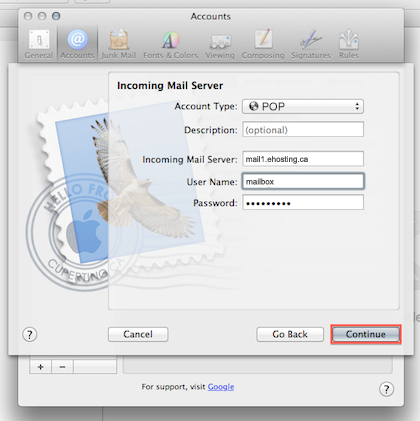
Enter the following server settings:
Select POP from the Account Type drop-down menu.
Enter a description that will help you identify this account (e.g. My Mail) in the Description field.
Enter mail.ehosting.ca (this information can found on your hosting panel, or you can check with us) in the Incoming Mail Server field.
Enter your mailbox user name in the User Name field.
Enter your password or your email account in the Password field.
|
8.
Click Continue
Note: You may receive an error at this stage indicating that you may not be able to receive mail. Just Click Continue.
|
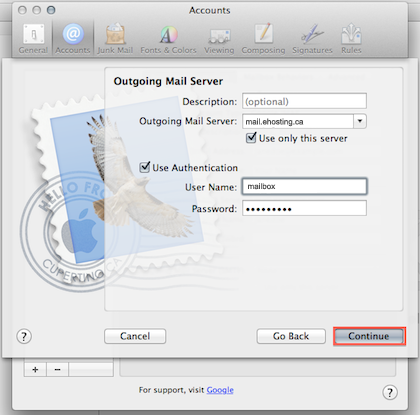
9.
Enter the following server settings:
Enter a description that will help you identify your account in the Description field.
Enter mail.ehosting.ca (this information can found on your hosting panel, or you can check with us) in the Outgoing Mail Server field.
Check the Use Authentication checkbox. Your username and password should populate automatically. If not, enter them as you did in Step 7
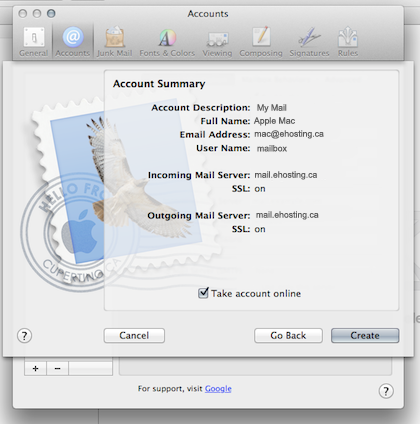
Verify your information is correct, then click Create.
Note: After you click Create, you will be taken back to the Accounts window. If you are not taken there automatically, click Mail>Preferences, or by hitting Command + on your keyboard.
|
10.
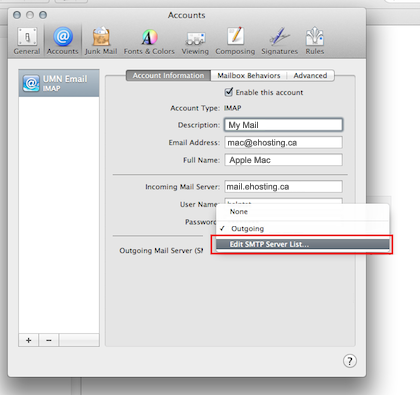
Click the Account Information tab
|
11.
Select Edit SMTP Server List from the Outgoing Mail Server (SMTP) drop-down menu.
|
12.
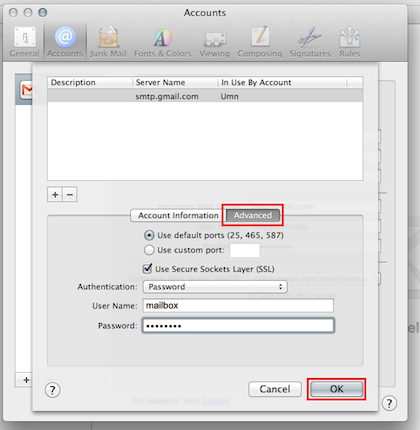
Highlight the Outgoing server you just created and select the Advanced tab.
|
13.
Enter the following settings:
Select the Use default ports (25, 465, 587) radio button.
Click the Use Secure Sockets Layer (SSL) checkbox.
Select Password from the Authentication drop-down menu.
|
14.
Enter your login information:
User Name: [Your mailbox name]
Password: [Your email account password]
|
15.
Click OK
|


 Mac Mail Tutorial